So you started your heirloom tomato seeds inside while there was still snow on the ground. You took care of them like they were your children until the final frost has passed. You properly hardened them off so that they are acclimated to life outside. Now it’s time to get them into the ground so they can really take off. (Or you bought some already started seedlings from the local nursery, totally valid.)
So what can you do to give them the best chance at growing the biggest, juiciest, healthiest fruit? Here are my top tips.
And I’d like to start by saying this is all extra. Tomatoes are survivors and can grow just fine if you plop them in some soil and give them sun and water. So don’t stress yourself out over doing all of the things. But if you’re looking to be a little extra, I’ve got you covered, keep reading.

Spacing & Companions
The spacing recommendations that you see on seed packets are made for commercial growers. For most home gardeners, we are doing some version of square foot gardening. So with thoughtful planning, you can pack a lot more into your garden!
Things to consider are spread, height, and compatibility. Let’s use the famous three sisters as an example. A vining squash plant is going to have a lot of sprawl and take up horizontal space, but not much vertical space. Corn is going to take up a lot of vertical space but just a small amount of ground per plant. They will benefit from the living mulch of the shade provided by the squash. And rounding everything out, you have beans. Pole beans will benefit from having something to climb (corn stalks) and provide nitrogen to feed its neighbors.
Beans however are not the best neighbors for tomatoes. And tomatoes need more airflow, so you would not want to plant climbing beans on tomatoes. Instead, things like basil and marigolds are great neighbors for tomatoes. And if you provide them with support and prune lower leaves to ensure that they don’t get soil splash and they do get airflow, you can plant tomatoes fairly close to each other.
Let me know if you want more detail on this in the future! I’d love to nerd out in more detail!
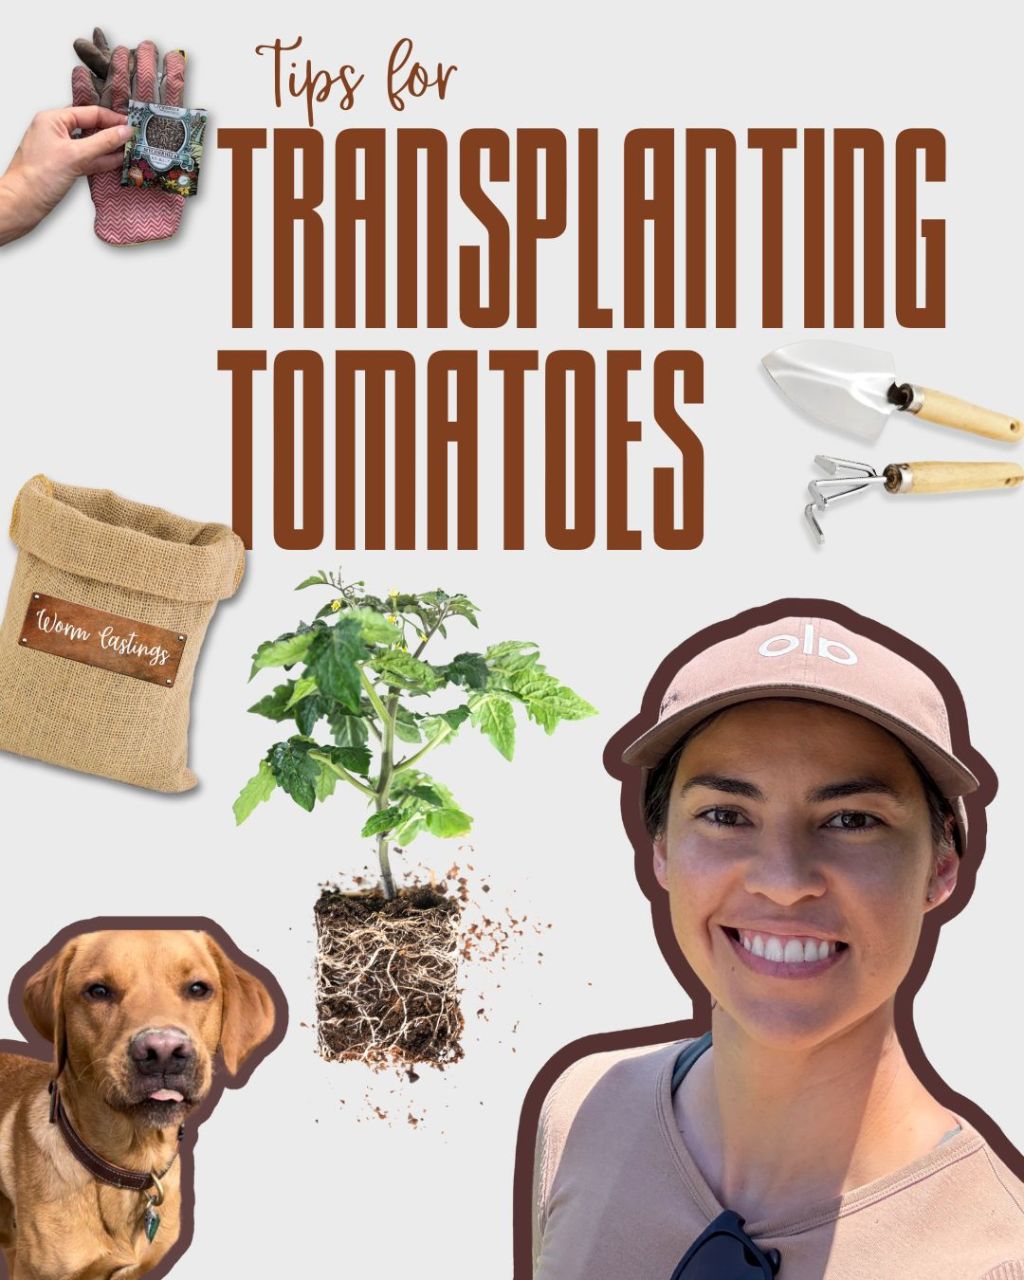
Planting Tomatoes
Depth
Now that we’ve discussed spacing and companions a bit, let’s talk about actually getting those tomatoes into the ground! Tomatoes are ridiculously vigorous and resilient when they are healthy. You can take cuttings and propagate them pretty easily! Particularly indeterminate varieties of tomatoes. So how can we take advantage of this?
Plant them deep! Those little hairs along the main stem can all turn into roots. And we all know that the better the roots, the more nutrients that a plant can take in. So in practice, that means you’ll likely want to remove at least a branch or two from the bottom of the plant (use your judgement based on how deep the roots already are and how many leaves there are to remain on the plant) and bury that tomato past the current soil line of the pot that it is currently in. Be mindful that you leave space between the last branch and the soil so that it doesn’t get exposed to any soil fungus when you water and it gets splashed.
And the good news is that if you didn’t plant deep enough, because this article did not come out when it was auto scheduled 🤣, you can still remove a bottom leaf and mound up a little extra soil around the base to help with a few more roots!
Feeding the Roots
Okay, now we know how deep to plant them, what else can we do to encourage vigorous roots? My two recommendations are worm castings, which are a very gentle and balanced slow feeding fertilizer, and mycorrhizae. Reminder for new gardeners, don’t add synthetic fertilizer right into the planting hole, it can burn tender roots. Organic amendments are best here!
I first heard about mycorrhizae a few years ago and have been slowly becoming more curious to experiment with it. This year when I saw it at my local garden center I grabbed it and decided to see how it worked.
Let me tell you.
The difference was MASSIVE.
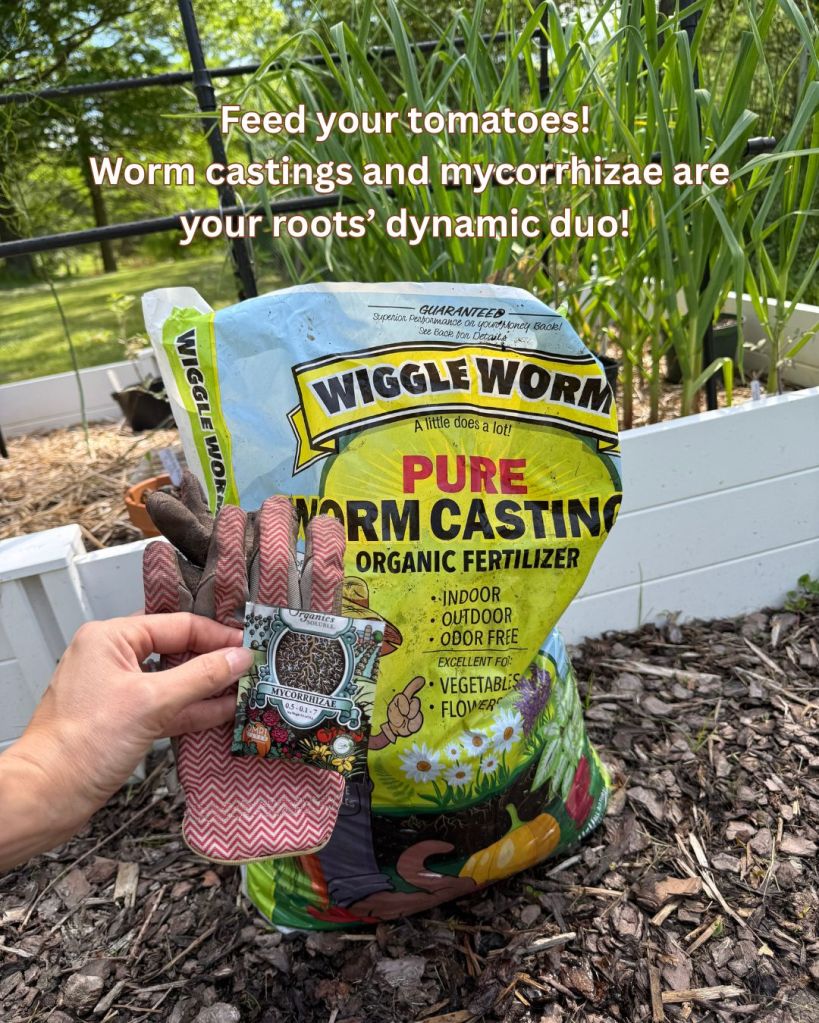
I’m talking roots busting out of the bottom of the pots before I would have even normally thought to check them. And my plants all look so vigorous. I’ll report back at the end of the year and maybe even do a side by side next year, but I will definitely endorse this with the results I’ve seen so far!
This is a symbiotic relationship between the fungus and your plant’s roots. The fungus feeds your plant water and nutrients and gets that sweet photosynthesized sugar in return!
Just a little sprinkle of each at the bottom of the hole will be good. Check the feeding instructions on your particular brands. These can also be combined with water and top dressed after planting if you missed it!
Thanks for reading, sorry the auto publish didn’t work and the article was late. Tell me what you are interested in reading about next! 👇✍️ How are your tomatoes doing?